
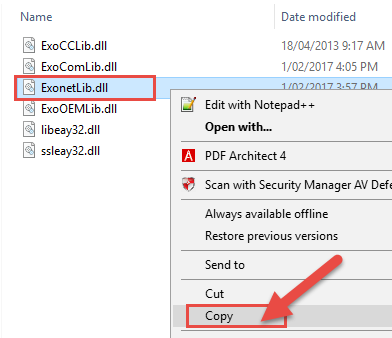
1.Copy the ExonetLib.dll file to your desktop from the file location that holds all off your Exo applications (this is usually a mapped X drive).
This is an application extension file if possible you can search by file type as per below:

Right click on the file, Copy – then on your desktop right click and Paste.
2. You then need to move the ExonetLib.dll from your desktop to the below location on your PC:
If your PC does not have the above file location you can move the file to: C:WindowsSystem32
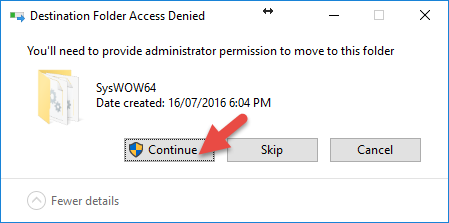
If you get the below message, click Continue.
3. You now need to register the ExonetLib.dll file against your PC.
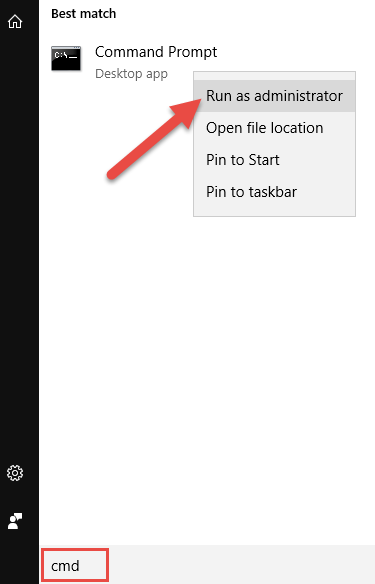
Search your PC for CMD, then right click on command Prompt and select “Run as administrator” as per below:
4. Below will appear you need to type in:
REGSVR32 C:windowssyswow64exonetlib.dll as per below:

Hit Enter.
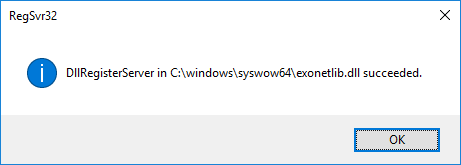
5. You will get the below message to advise the ExonetLib.dll has been successfully registered:
Close the Command Prompt as you no longer require it.
6. Make sure you have the mapped X drive where your Exonet applications are stored (where you got the ExonetLib.dll file from).
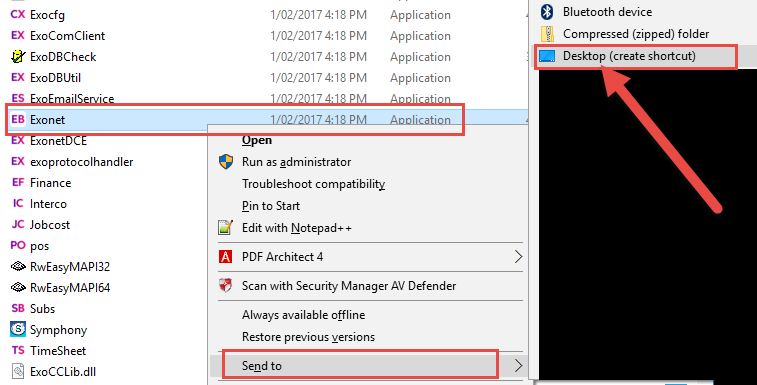
Open this file location and right click on the application(s) that you require in the below case ‘Exonet’.
Right click > Send to > Desktop (create shortcut)
7. Open the shortcut you have just created on your desktop
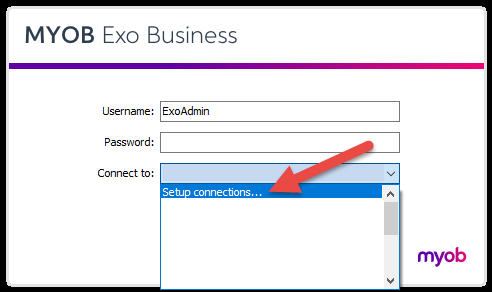
8. Select the connection dropdown, and select “Setup connections” as per below:
9. Enter the details to this screen for the Exo database(s) you require access to.
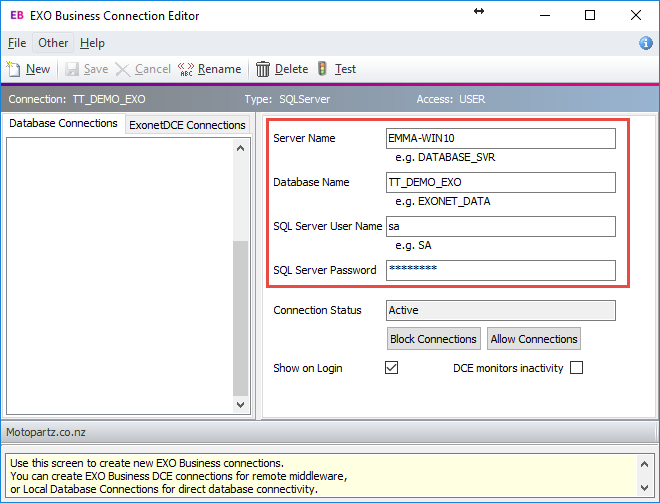
10. You IT company or Focus can advise what this information is if you do not know it.
11. Once all the information is entered, click Save.
12. You then need to test the connection as per below:
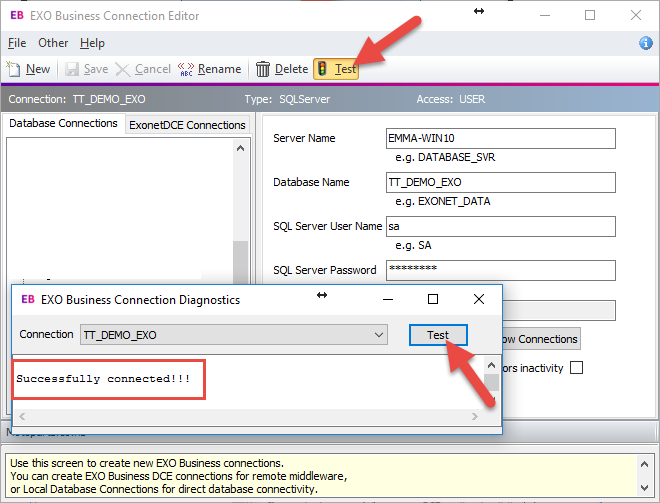
13. As per above if the details you have entered are correct you will get a message saying “Successfully connected” – You can now log into Exo using this connection.
Talk to our Exo Consultants for more info
If you have any further questions please contact the focus team via email: support@focus.net.nz or phone: 0800 12 00 99


