When a new staff member begins at your organisation, you need to add them to MYOB EXO Business so they can begin their work.
If an existing staff member has changed their role, you may need to change their menu and/or other permissions.
There are often a few things to consider, for example, what kind of work they will be performing, and what permission rights they will need.
To create a new staff member you will need access to MYOB EXO Configurator. If you do not have the necessary permissions to launch the Configurator, ask your system administrator.
Firstly, access the Staff button within the EXO Configurator:
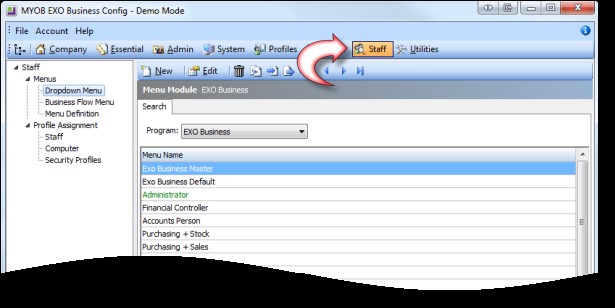
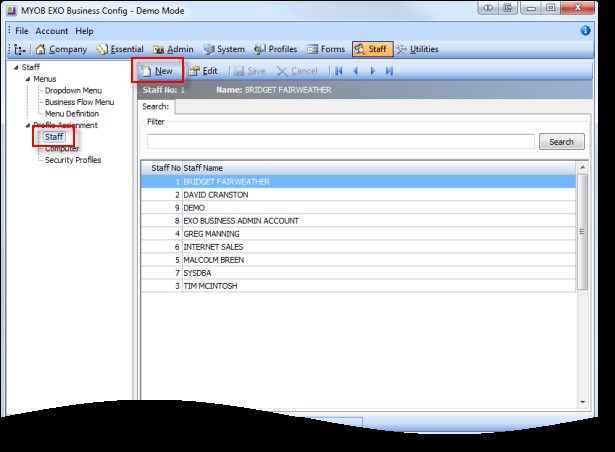
Down the left side of the screen you will see Profile Assignment > Staff. Select Staff.
A list of staff members will appear on the right. Note the format in which the existing names have been entered (e.g. firstname lastname or lastname, firstname)
To create a new staff member choose New:
You will see a screen as below:
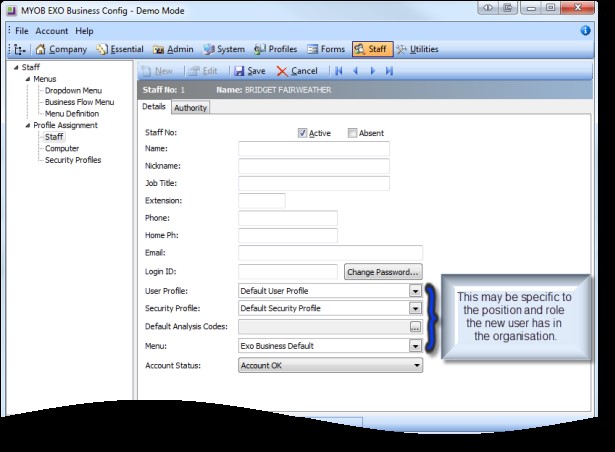
Enter the Staff member’s Name in the first field in the format identified above.
The fields from Nickname down to Email are optional.
Enter a Login ID. This is what the name the new staff member will use to log into MYOB EXO Business.
Now choose the appropriate User profile, Security Profile, and Menu. These settings control their access rights and menus.
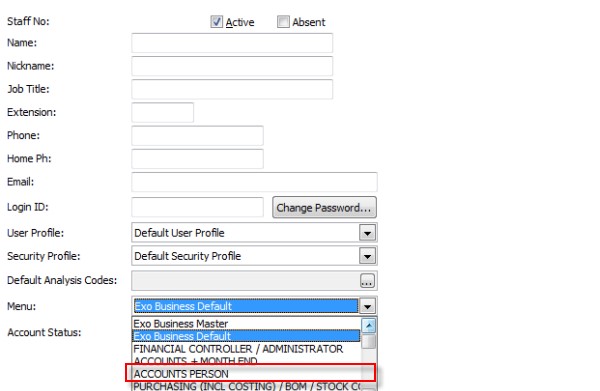
Now click Change Password. Initially, set the password to something simple (for example, abc123) and then set the Account Status to Password Expired.
Once you have completed the above, move to the Authority Tab. In this tab you can optionally set authorisation limits for Purchase Orders ($), Creditor Invoices ($) and Discount (%). These settings are not compulsory but enhance security. If you leave them blank, the user will have no limit applied.
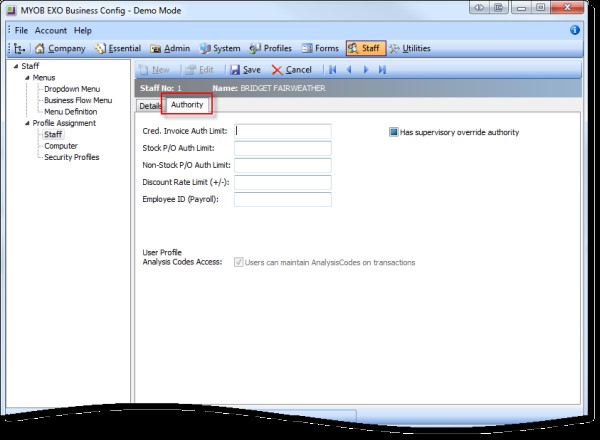
If you use MYOB EXO Payroll, you can also enter the Payroll Employee ID.
If you use MYOB EXO Point of Sale, check Has supervisory override authority if the staff member is a supervisor.
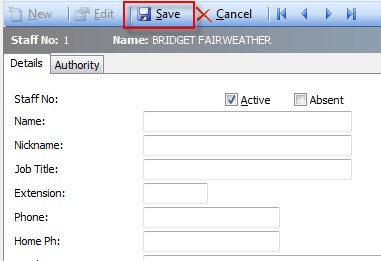
Once you have completed entering information, click Save.
