Registering MYOB OnTheGo users and connecting their iPads for the first time.
First, I send instructions like the following to the person with the iPad:
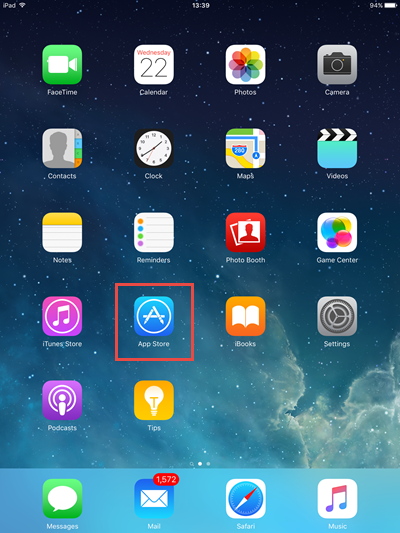
1. Go to the App Store and download “MYOB EXO”.
2. Open the App once it has downloaded.
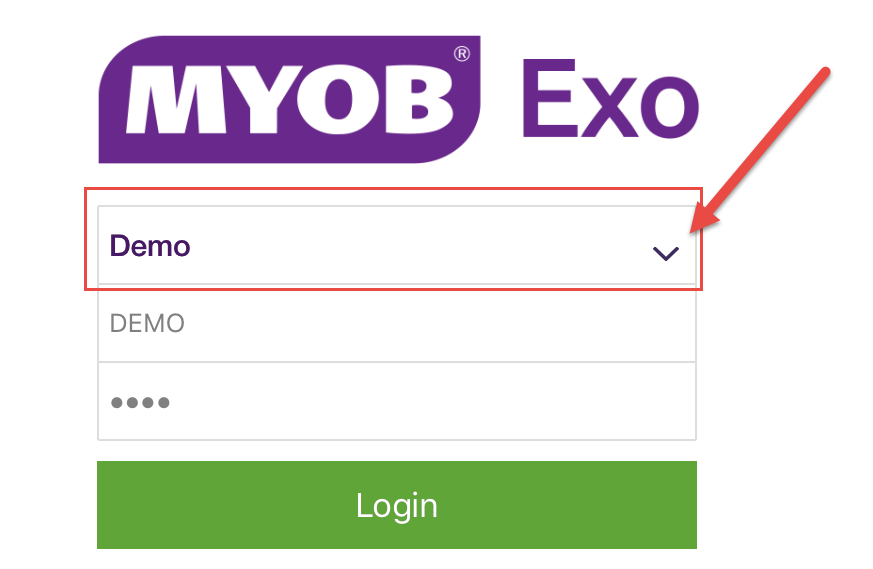
3. Click on the Purple Arrow beside the word “Demo” to open the Connections List.
4. Click on Add Connection in the list.

5. Type in a Profile Name (Whatever you want, but we recommend something like your company name).
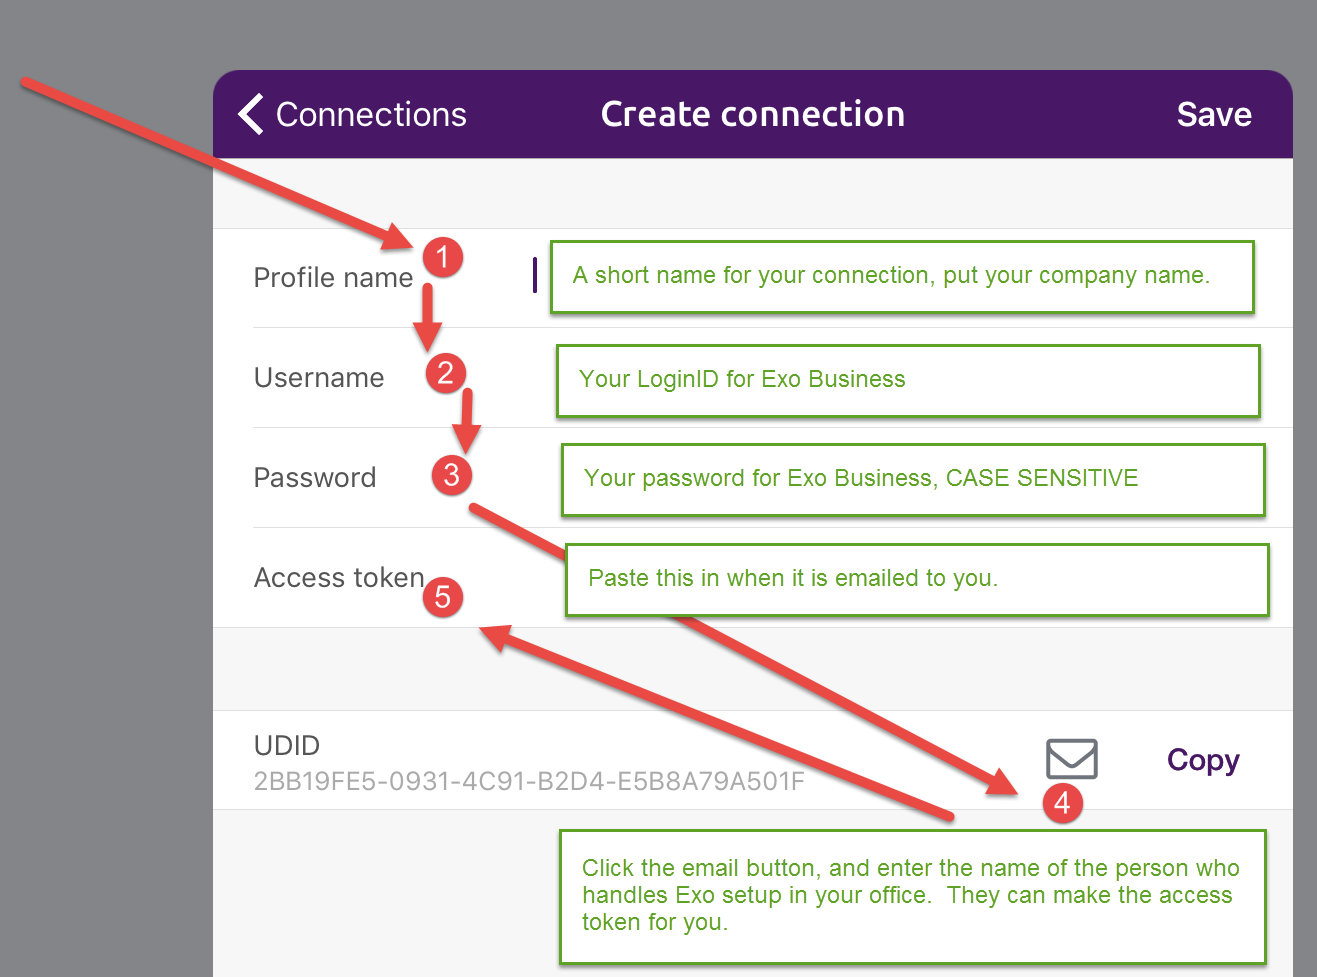
6. Enter your EXO Username.
7. Enter your EXO Password.
8. Click the Email button on the UDID line and send your Exo setup person the UDID (The long string that’s there).
9. Wait for an email from your Exo consultant.
10. Select the whole key, (it takes a bit of work), and then press copy.
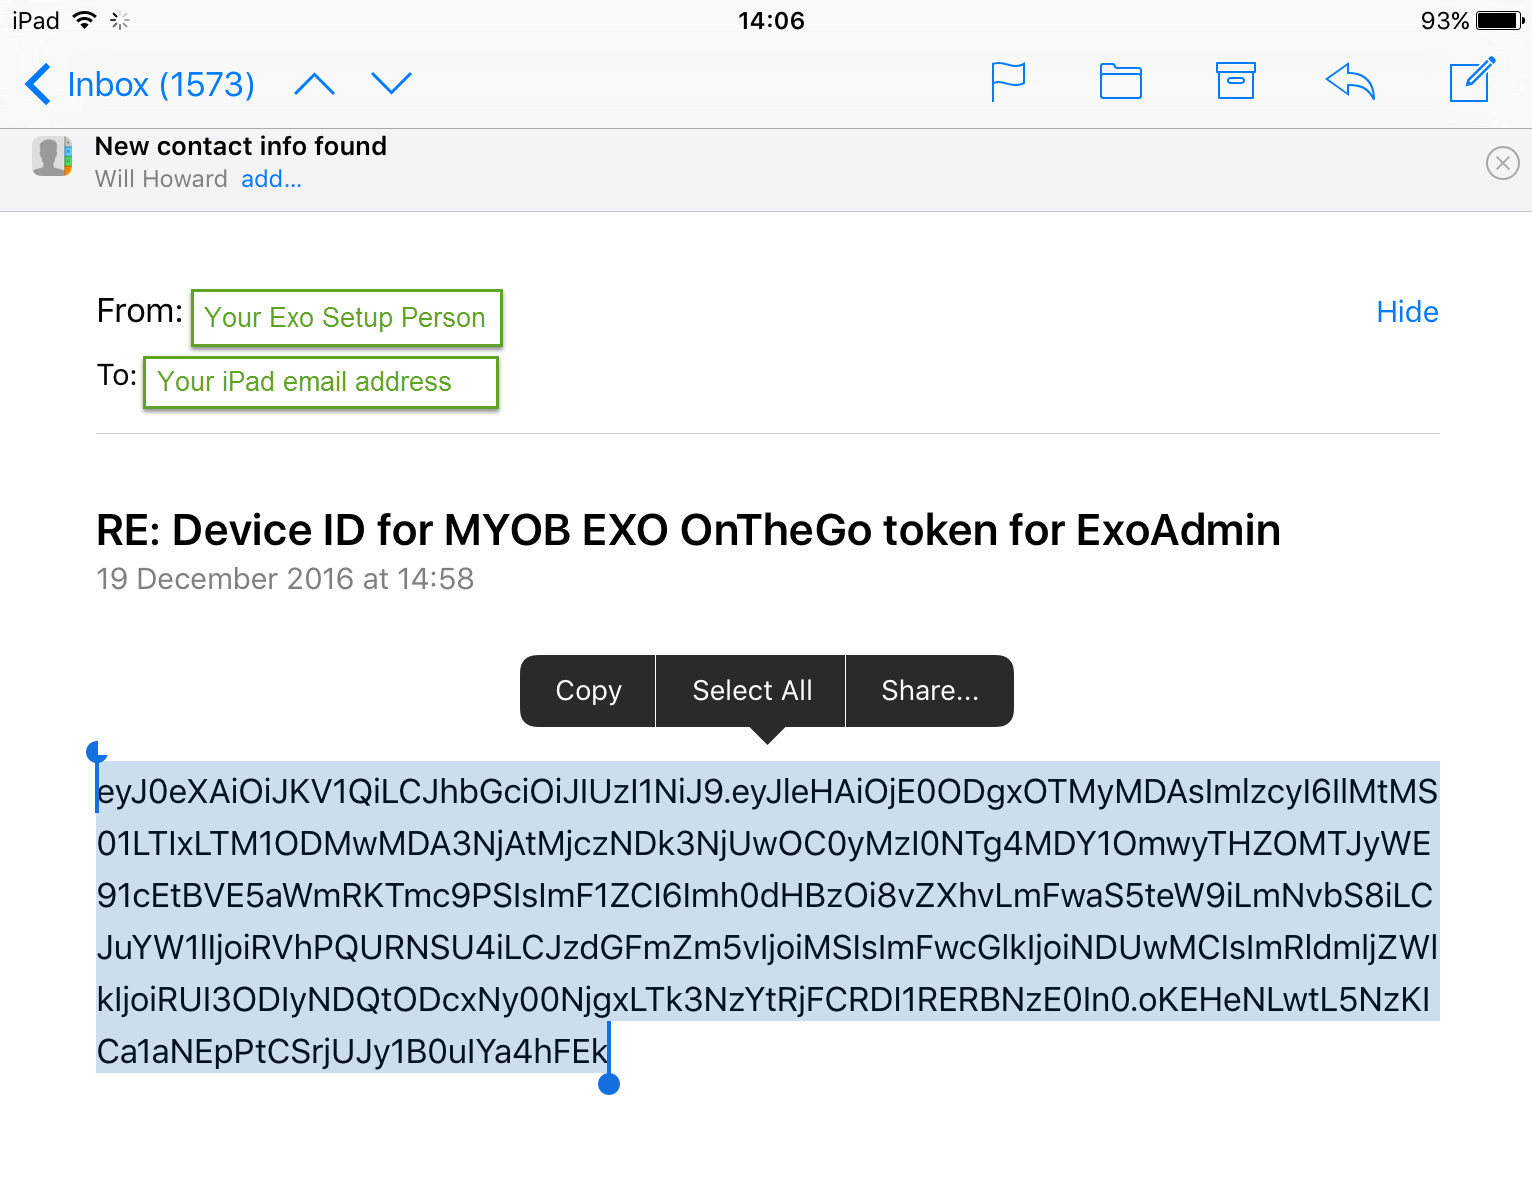
11. Paste it into your MYOB Exo app at the Access Token line.
For yourself, you can then follow these instructions:
1. Run ExoConfig.exe utility.
2. Log in to your database using your normal credentials.
3. Go to the Staff tab and then double click on the user you want to add.

1. Choose the OnTheGo tab from the user.
2. Tick the Allow OnTheGo Access box for the user,
3. Click Add Device:
4. Enter a descriptive name for the iPad
5. enter the UDID from the iPad.
6. Press OK.
7. Press the Copy Key to Clipboard button and then email the key to the user.
8. Press the Save button to update the changes to the database, if you don’t press save here, the user can’t log in.

